
So there's a LOT of parts for this little kit. And they are amazingly detailed.
We have engine, nose and cockpit parts...


Lots of piping to go around the body...


The base of the model...

And the highly detailed body itself.

I also purchased a photo etch set for doing the interior cockpit with lighting. This will really make the ship come alive.

I putchased this Adafruit Trinket, which is an arduino based circuit board. So I can program it to animate my LEDs for the engine and run my model off of a 5v USB cord or 3v battery.

The base of the model has a hole where the stand fits in, but I'm planning on replacing the included stand with a copper tube, which I can run my wires through to power my model.

And as with my AT-ST model I previously built, I plan on mounting the Arduino Trinket to the underside of the base to power the model. I'll cut out a hole in the back of the base for the USB cord to plug into the Trinket.

And here I have some neopixel LED lights that I will be hooking up to my Trinket board.

These neopixels are full RGB programmable LEDS and extremely small, as you can see here.

One of the most difficult things to do was solder wires to the 3 spots on the back of the LED itself.

But I managed to wire it up faily easily.


Once I had the neopixel LED wired up, I had to do many hours of searching and learning how to do arduino code. But I finally got the basics down and was able to do some coding for the engine effect I want for my Y-Wing.

So I've attached alligator clips to the Trinket board and then the negative, positive, and data pin wires of the neopixel to the alligator clips as well.

And what my program does is slowly brighten up the LED in yellow...
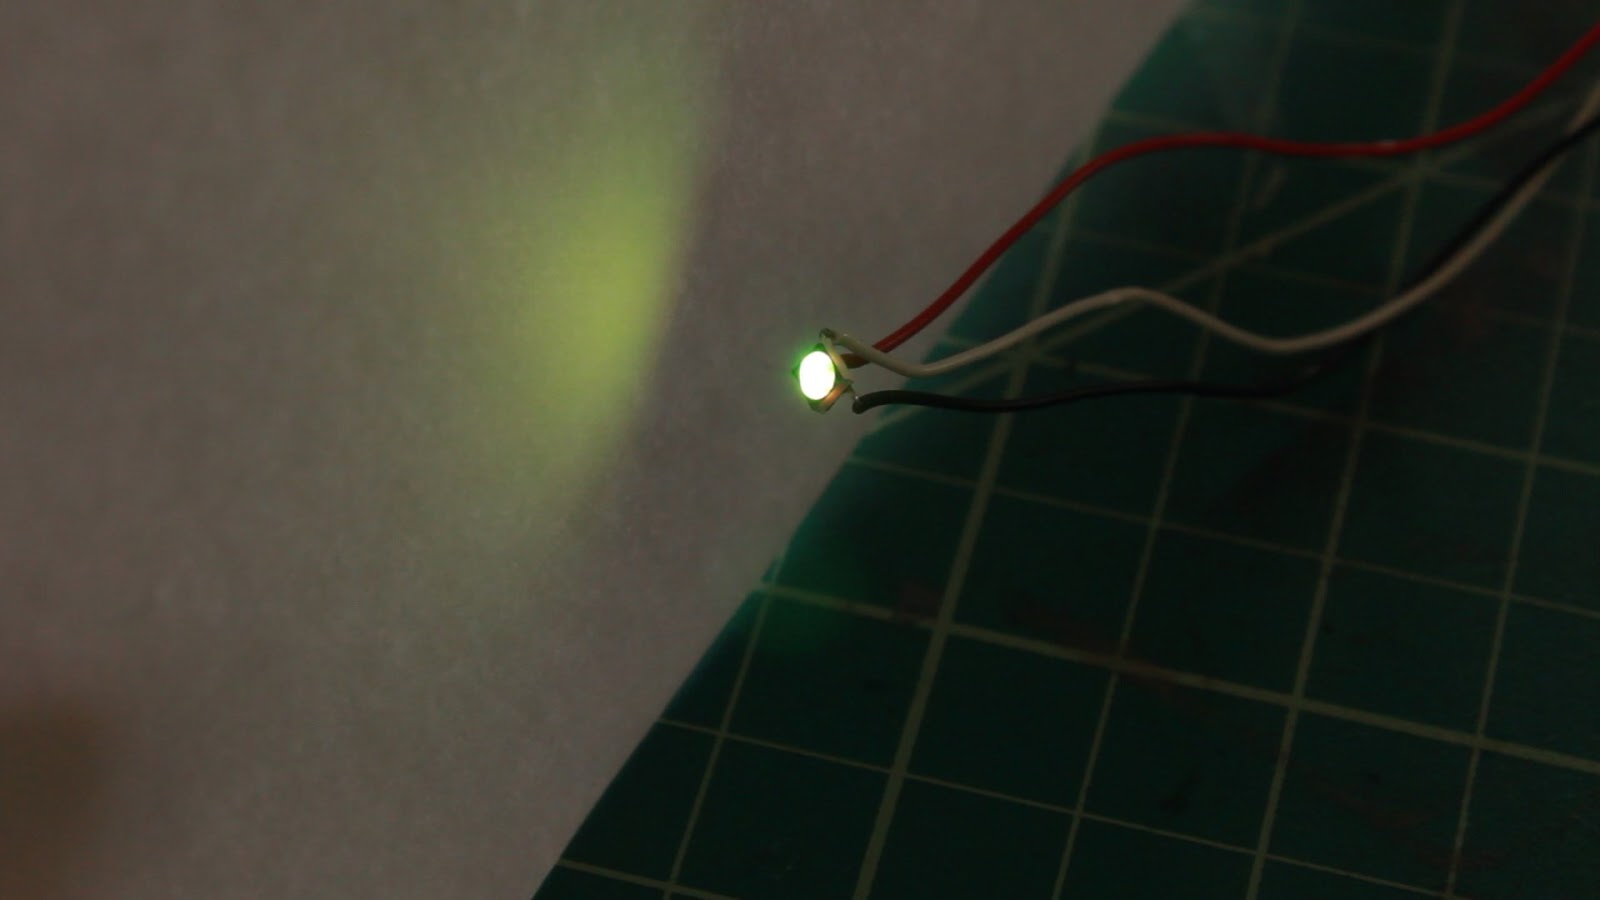
continues to get brighter yellow...

as it slowly fades through orange, continuing to get brighter...

till it reaches full bright and red, which is the color of Y-Wing engine exhaust. And once the light gets to full Red brightness, it begins to flicker a bit to simulate flame.

Here's a video of the LED in action once power is turned on. Again, begins to fade in brightness while changing from yellow to orange and eventually red, where it begins to flicker as if it's burning.
So that's it for my plans for engine lighting. The cockpit lighting will be standard LEDs shining through the photo etch, with possible some fiber optics here and there attached to some blinking leds.
Stay tuned. Much more to come...